How to Apply Tattoo Numbing Cream Properly (60–90 Minute Method + Common Mistakes)
Tattoo numbing cream only works when it’s applied correctly.
Most problems — reduced effectiveness, skin texture changes, poor duration — come from incorrect preparation.
This guide explains the professional 60–90 minute method, when to apply it, and the most common mistakes to avoid.
If you want predictable results, preparation is everything.
Quick Answer: How Do You Apply Tattoo Numbing Cream?
Apply a thick layer to clean, unbroken skin 60–90 minutes before your appointment. Cover with occlusive wrap, allow full absorption, then remove all residue before stencil placement. Always inform your tattoo artist before use.
Why Timing Matters
Topical anaesthetic works by temporarily reducing nerve signal transmission in the upper skin layers.
For this to occur effectively:
- The skin must be intact
- The cream must sit under occlusion
- The product must absorb fully
- Surface residue must be removed
Rushing this process is the most common cause of poor results.
The Professional 60–90 Minute Application Method
This is the method used in professional settings for consistent results.
Step 1: Clean the Area Thoroughly
Use mild soap and water to remove:
- Oils
- Sweat
- Lotions
- Sunscreen
Dry the area completely.
Do not apply tattoo numbing cream to dirty or irritated skin.
Step 2: Apply a Thick, Even Layer
Do not rub it in.
The skin should be visibly coated.
Too thin = reduced effectiveness
Too thick = unnecessary waste
Aim for full surface coverage.
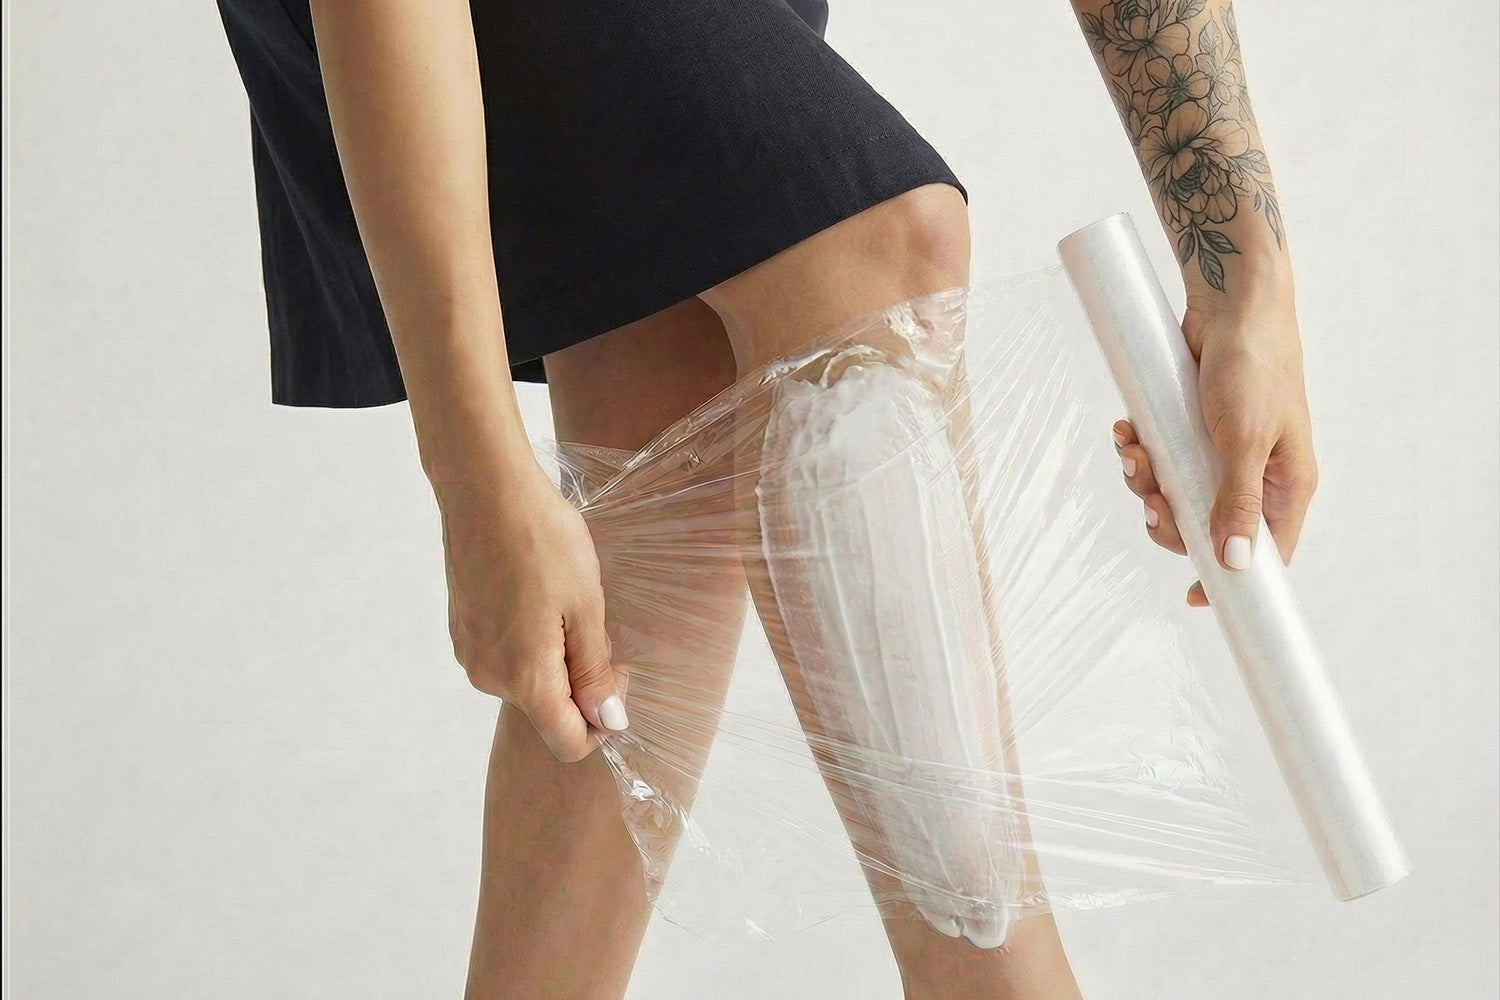
Step 3: Cover With Occlusive Wrap
Use cling wrap or medical film to:
- Trap heat
- Prevent evaporation
- Support absorption
Occlusion is critical. Without it, effectiveness drops significantly.
Step 4: Leave for 60–90 Minutes
This timing window is key.
- Less than 60 minutes: incomplete activation + shorter duration
- More than 90 minutes: may increase surface softening and offers no meaningful added benefit
60–90 minutes is the optimal balance.
Step 5: Remove Completely Before Tattooing
This step is often overlooked.
Remove wrap and wipe away all cream residue.
The skin surface should be clean and dry before stencil placement.
Residual cream can affect:
- Stencil adhesion
- Skin texture
- Artist control
Communication with your artist here is essential.
When Should You Apply It?
For a 1:00pm appointment:
- Apply between 11:15am–11:30am
- Wrap immediately
- Remove fully at the studio (or as your artist instructs)
Do not apply hours earlier in hopes of a stronger effect.
Timing precision improves consistency.
Common Tattoo Numbing Cream Mistakes
Most “it didn’t work” complaints come from these errors.
1. Not Using Occlusion
Without wrap, the product dries out and absorbs poorly.
2. Applying to Broken Skin
Never apply to open skin. Absorption becomes unpredictable and unsafe.
3. Rushing the Timing
30–45 minutes is usually insufficient for consistent results.
4. Leaving Residue on the Surface
Residual cream can affect stencil transfer, alter skin texture, and reduce artist control.
5. Not Informing Your Artist
Tattooing is collaborative. Your artist should always know beforehand.
Why Numbing Cream Sometimes “Doesn’t Work”
Effectiveness depends on:
- Skin thickness
- Placement (ribs vs thigh)
- Circulation
- Body temperature
- Stress levels
- Application accuracy
Sensitive areas like ribs, sternum, and spine benefit most from correct prep.
Incorrect preparation reduces duration dramatically.
Can You Reapply During a Session?
Reapplication is different from pre-session preparation and should only be done under artist supervision.
Applying standard pre-session cream to freshly tattooed skin is not the same process.
Always follow professional guidance.
Does Proper Application Affect Ink?
When applied and removed correctly: No.
Issues arise when:
- Cream remains on the surface
- Skin is oversaturated
- The process is rushed
Correct preparation protects stability.
Aftercare Still Determines Final Results
Numbing cream supports session comfort. Aftercare protects the artwork.
Once your session is complete, structured recovery matters more than pre-session comfort.
Internal link suggestion: Link the phrase “Tattoo Aftercare Australia Guide” to your aftercare pillar post.
Final Thoughts
Tattoo numbing cream is not about avoiding discomfort.
It’s about:
- Stability
- Precision
- Reduced movement
- Completing sessions properly
When applied using the 60–90 minute method and removed correctly before stencil placement, it becomes a preparation tool — not a shortcut.
If you choose to use numbing cream, use it properly.
Australian made. Professionally formulated. Designed for ink.